Sunday, March 17, 2013

Honu in process


Honu in process
Worked on Honu today, adding much of the shell. Not sure it is done yet--but getting close. Loved the technique of spraying temporary glue on the background and layering on the fabrics--the only glue option I have felt OK using so far. Once I am settled with the shell, I plan to move on to free-form ocean for the background, in shades of aqua, blue and bits of bright colors. I am wondering if I should layer tulle over the turtle before jumping into the background as a way to protect all the little bits while I work around it. I think I need to head to a fabric store with some of the fabrics in hand to audition various tulles sooner rather than later, as once the tulle is in place, I am committed to the fabric choices beneath it. Does honu look ready to swim?
Quilt gallery and quilts for sale at: Rana's quilt photos.
Honu with re-worked shell

Wednesday, March 13, 2013

Stacked Coins and Class Announcement

Liz' Kidz
I start with have high hopes that all the students in my classes will leave with a totally finished product. I am finally realizing that it isn't about taking that last stitch--it's about what you learn along the way. The Stacked Coins class learned color and fabric selection, cutting techniques, tips to improve design and layout, setting up their machines to sew scant 1/4" seams, string piecing, spray basting, straight and free motion quilting, a little quilt-as-you-go, binding and labels. Most are also done or very nearly done with their quilts, so, mission accomplished! Whew!

Monkeys! by Stephannie
Ready for more? Linda and I will be teaching "In Living Color" as our next adventure. Linda is only able to join us for the first session, Friday, March 29 at 3:00. This will be a test to see how I manage without my trusty co-pilot. The class continues on April 5 and 12, with a goal of completing Just the Top! This class starts with an image or object you bring whose colors inspire you, and translates that inspiration into the the colors of your quilt. Trust me!

Grandmother's China by Rana

Quilt gallery and quilts for sale at: Photo Album

Monday, February 18, 2013

Book Review Monday

Once again I received a book to review for you! This e-book, titled Modern Quilt Patterns, couldn’t have found its way to me at a better time. Having just shoveled out of a record-breaking snowfall, seeing the cover of Modern Quilt Patterns with its light, bright, sherbet colored quilts just made me want to run out and buy some spring-colored fabrics and start sewing! I was also intrigued because a Modern Quilt Guild chapter has recently sprung up in Maine. While I haven’t made it to a meeting yet, there has been plenty of discussion about just what IS a modern quilt anyway? In the introduction to this e-book Beth Hayes, Editor-in-chief for McCall’s Quilting,  defines Modern Quilts as “notable for their minimalist aesthetic, use of bright, bold colors with large doses of white and other neutral solids, asymmetrical designs, and free-form piecing.” The book goes on to showcase three happy quilts, one of which, Lemon Squeezy, uses a strip-quilt-as-you-go technique. This is a technique I have been exploring for my class (see tutorial) so I was very interested to read how this particular quilt was constructed. Download this book. You may be sorely tempted, as I am, to pull out strips and scraps and begin quilting-as-you-go. Or perhaps the design possibilitres of half-square triangles will excite you, as in Rainbow Rhythm. Although the directions are based on fat quarters, the units begin with 5” squares, which got me thinking, what if you started with 4 or 5 charm packs? Finally, there’s Baubles and Beads, which relies on more traditional block piecing and white sashing. Pictured in spring greens, pinks and yellows, it would be perfect for a girl’s room. If it’s winter where you are, download this book and breathe in a little breath of spring!
Quilt gallery and quilts for sale at: Photos

Sunday, February 3, 2013

Sea Turtle

 The sea turtle is finally taking another step forward. Here are two flippers--just the background, on the left, and with scales added, on the right. The scales are held in place temporarily with spray glue, and will be covered with a layer of gold tulle--you can see the pins through the tulle. Eventually I will stitch through the tulle, around each scale, to hold it in place and delineate the scales even more. I think the colors are going to work great!


Quilt gallery and quilts for sale at: Photos

Tuesday, January 22, 2013

Finito


Here are the other two completed projects. The fairy is a present for a friend who has gifted me with fairy-themed calendars every year. Still looking for a day when I can meet up and give it to her! Sequins add a touch of sparkle to the background. The other piece, Circular Convergence, is from a pattern handed out at our guild, along with one of the 4 fabrics needed to complete the pattern. The style of quilt is called convergence quilts, created by Ricky Tims. I had thought to go all neutrals when I got the brown fabric, but somehow I ended up with the red and yellow--they just seemed to invite themselves. I quite liked quilting the big, interlocking circles and pretty feathers on the border. I would say this is my most successful feather quilting to date. No new projects on the design wall--must change that!

Quilt gallery and quilts for sale at: Photos

Sunday, January 13, 2013

Bits and Pieces


Been finishing up a number of projects this month. Once I got the sample and tutorial for class done, I wanted to make up one more sample for a magazine submission. Then there was this idea for a 'very late' present for a friend, and finally one of the two guild challenges I signed on to do this year. That almost clears the decks! Still waiting is the second challenge (due in June) and a piece that I started soon after returning from Hawaii. I'd love to have that one done for June as well, but it will take whatever time it takes. I have a few pictures to post. I'll start with 'Dark Wood', a sample I created for my article submission. Don't know if the article is accepted yet, but I have the samples done! Here is a full shot and close up. Very fun technique that I hope to teach/demo/write about. Love the glittery tulle shadow!

Quilt gallery and quilts for sale at: Quilt Photos

Sunday, January 6, 2013

Stacked Coins Tutorial, Part 2

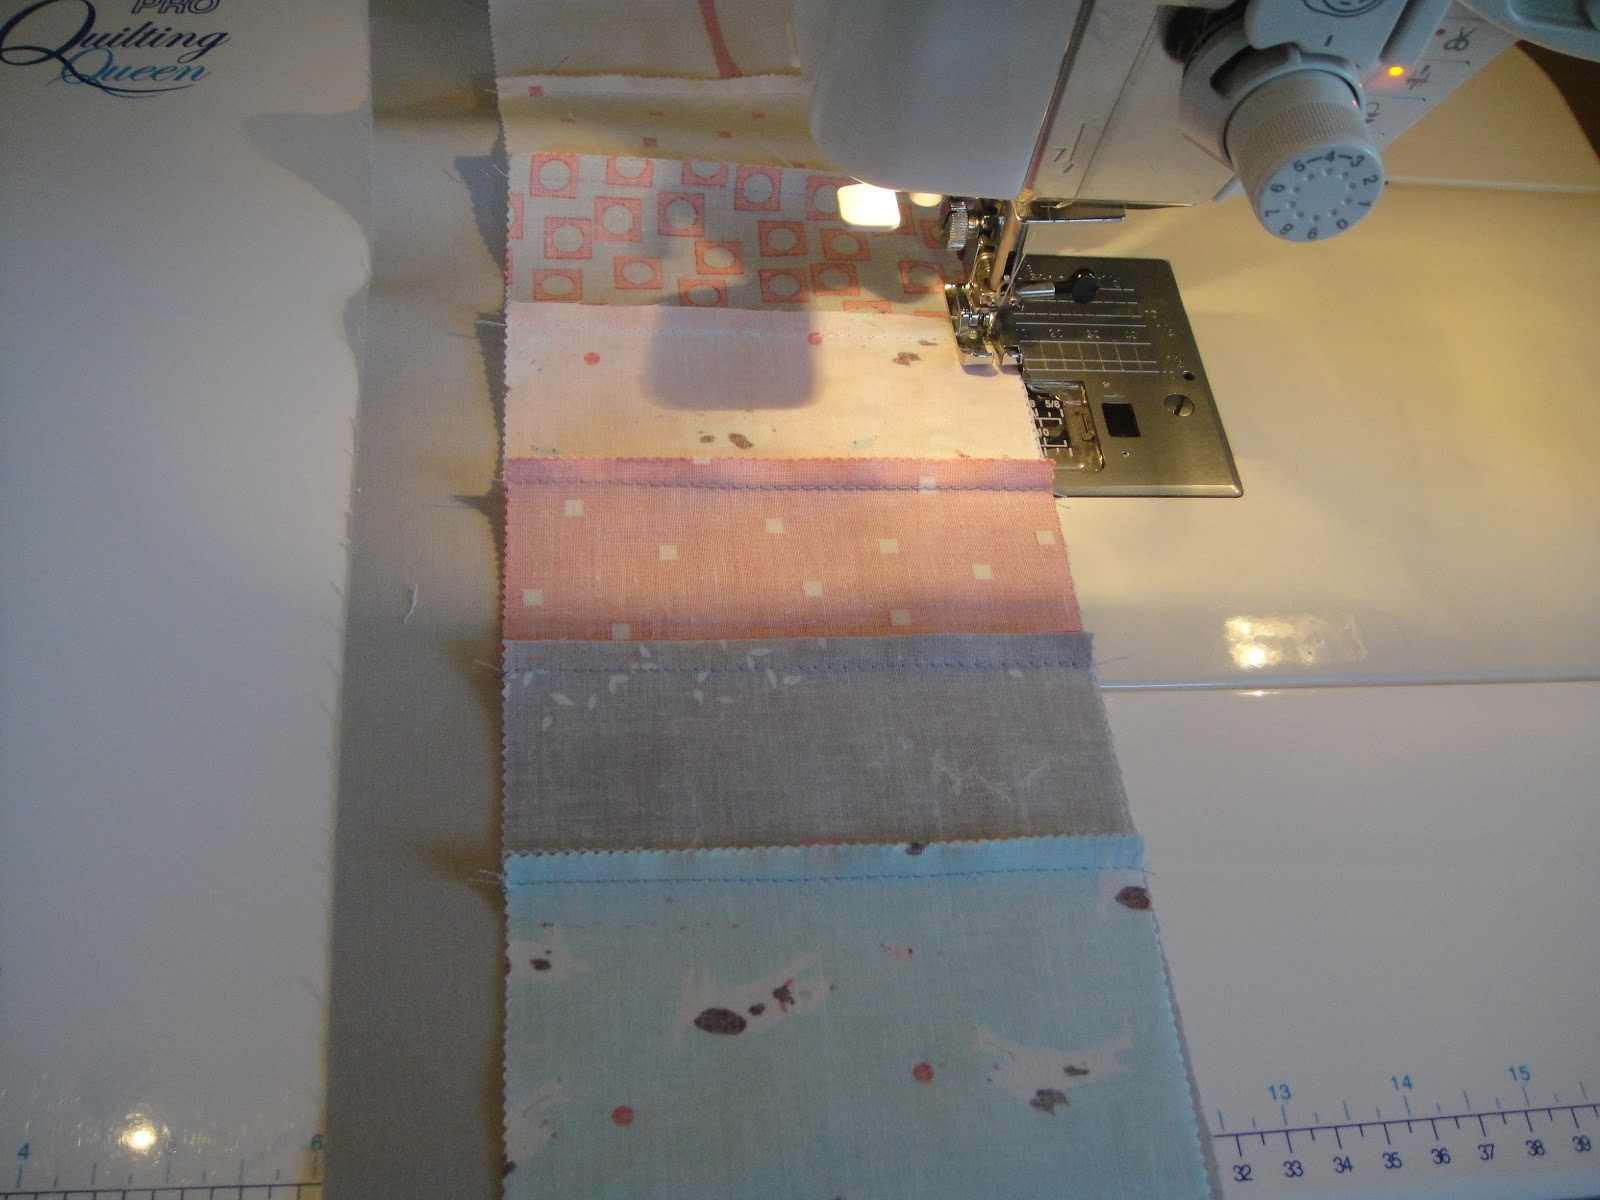
When we left off, you had 3 columns of stacked coins completed. Time to create the sashing. Cut strips from your background fabric. Cut 2 strips 5” by width of fabric (42”) and 2 strips 6 ½” by width of fabric. Lay out the quilt top: Wide sashing strip, stacked coin column, narrow sashing strip, stacked coins, narrow sashing, stacked coins, wide sashing. See completed quilt, below, for layout.


Sew strips together. Make pairs of coins and sashing, sew with coins on top. Press seams toward sashing. You will have one extra sashing strip. Sew paired strips together, then add the final sashing strip. Press seams toward sashing. Square up the top if needed. 

Trim selvages from backing fabric. Piece if desired. Leftover charms make a nice row to piece into the back. Press back flat. Layer backing, batting and quilt top, baste with spray or pins. Your quilt is ready for quilting! 

I quilted in the ditch between the sashing and stacked coins, using a walking foot. I continued adding straight lines in the sashing, marking the lines with chalk. Then I switched to a free motion foot and sewed wavy rows across the stacked coin columns. Minimally, quilt as closely as your batting package recommends.
 
Once the quilting is done, it’s time to bind the quilt. Cut your binding fabric into strips 2 ¼” wide by width of fabric. Piece the strips together, to make one continuous length at least 15” longer than the quilt’s perimeter. This quilt needs about 170” of binding. Fold in half lengthwise with wrong sides together, pressing as you go, to make a strip that is 1 ⅛” wide. Stitch to quilt, matching raw edges and mitering corners. Finish tails with a diagonal seam. Trim backing and batting ½” away from the seam. This will give you the ¼” seam plus about ¼” of backing/batting to fill the binding. Press binding away from quilt. Turn folded edge to quilt back and stitch by hand. Try not to let stitches show on the front.
 
Make a label with your name, date, location and any other information you would like. Labels can be plain or fancy, using a fabric marker, embroidered, printed on prepared fabric, painted, or stamped. Sew securely to back of quilt. Show off your new quilt!


Quilt gallery and quilts for sale at: Rana's Quilt Photos